


Terms & conditions apply. See Polaris dealer for details.
OFFERS END 6/30


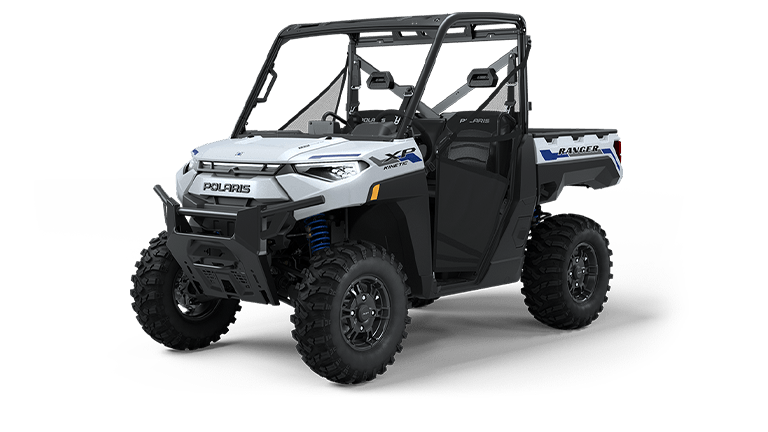
THE MOST CAPABLE UTV
Make the most of your workday with RANGER, our most capable UTV. Get more done with the ultimate blend of capability, comfort and durability, and have more fun on the trail when the work's complete.
KEY FEATURES

Get more done with on-demand all-wheel drive, providing instant traction and powerful hauling and towing to maximize every load. Plus, enhance your vehicle with Polaris Engineered accessories to customize it for the task at hand.

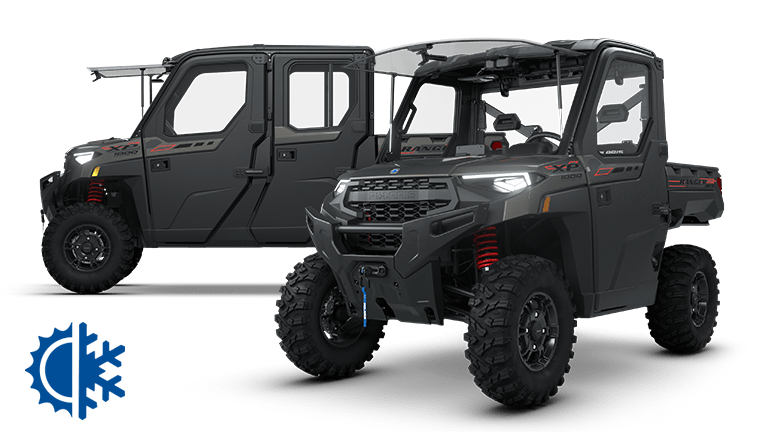
Whatever you do, enjoy it rain or shine with Polaris RANGER NorthStar models featuring an enclosed cab and available heating and air conditioning.

A strong transmission and available vehicle protection, like an underbody skid plate and front bumper, offer enhanced durability to conquer tasks and trails all day long.

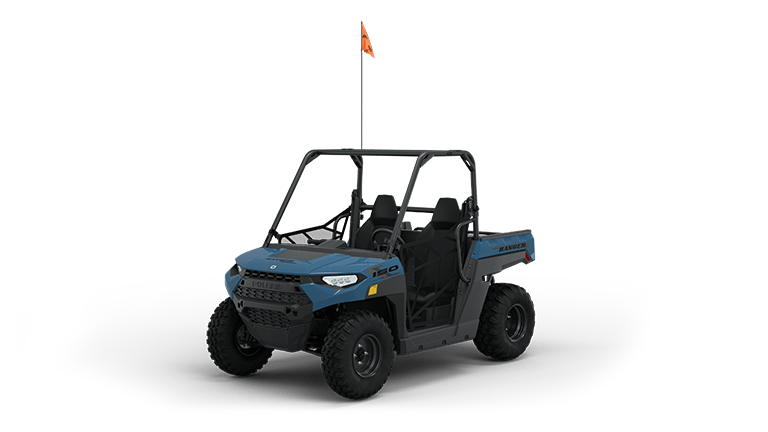
Right Tool. Right Price.
Introducing the all-new RANGER 500. With work-ready features like a dump box, factory-installed winch and more, RANGER 500 is the smart choice for those looking to take on to-dos without breaking the bank.
THE RANGER LINEUP

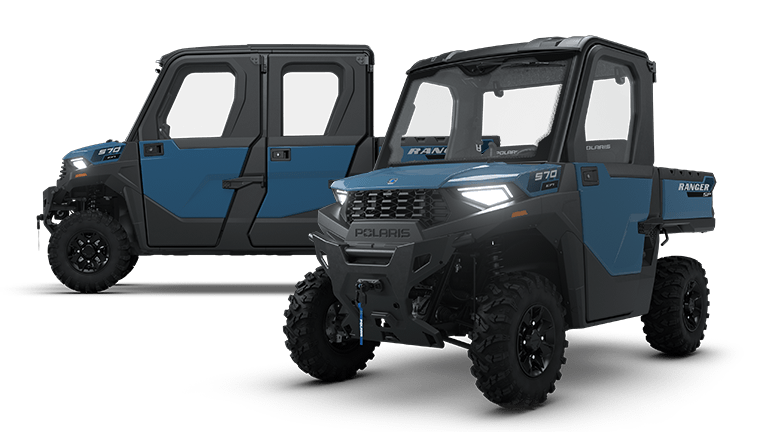
Introducing the 2026 RANGER 1000 CAB, offering an enclosed cab with factory-installed heat for added comfort and productivity in cooler weather.

Introducing the new 2027 RANGER XP 1000 CAB—built to keep you comfortable and in command in every season. With an enclosed cab featuring heat and air conditioning, it delivers year‑round protection from the elements so you can tackle tasks and trail with confidence.
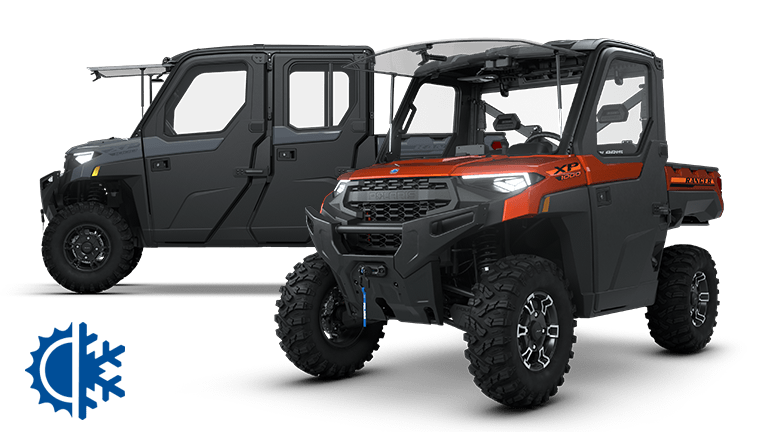
Enjoy the superior capability of RANGER XP 1000, along with the all-season comfort of an enclosed cab featuring factory-installed heat and AC.

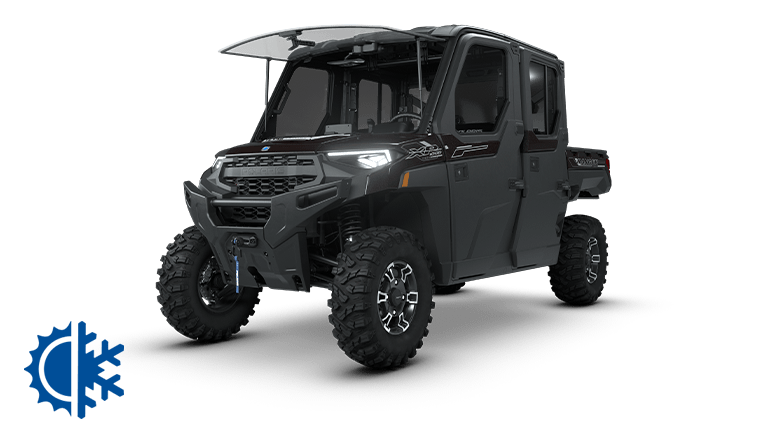
Part of our Extreme Duty class. The strongest, most capable and comfortable RANGER with all-season comfort and elevated in-cab features.

Built for Texas with robust 32” tires for enhanced capability, an exclusive Texas design, window tint and full-surround JBL audio for a premium ride experience.

Make the work part of the reward. With work-ready features like a dump box, factory-installed winch and more, RANGER 500 is the smart choice for those looking to take on to-dos without breaking the bank.


THE ULTIMATE OFF-ROAD TECHNOLOGY
RIDE COMMAND offers next-level features to enhance your ride, give you the confidence to tackle any job and ensure your rig is ready for whatever the day brings.


Confidently Navigate
Easily stay on route, even without cellular connection, with GPS navigation and over 1.3 million miles of downloadable trails. Access public and private land information to confidently find your property lines, or your neighbors.
Stay Connected
Stay connected with fellow riders even on the most remote rides with Group Ride. Whether you're tackling projects or hitting the trails for an adventure, you'll be able to track journeys, send messages and navigate with ease—even when you're offline.
Have Eyes on Everything
Gain an advantage in challenging pursuits with integrated camera that help you navigate more effectively and find the best spots with a more comprehensive view of your surroundings.


